FINISHED! la brune de childhood treasures

It's quite the sprint to finish blogging all my finished makes before the end of the year! Today is another Liberty of London make, also in fabric from Ava and Neve. This time Childhood Treasures. I'm not sure which collection this design is from (SS15?)  but it has a wonderful decoupage pattern with the cute addition of butterflys and dragonflys.
I originally bought this fabric to make another Marthe, but I have also fallen in love with another French pattern design company, Delphine et Morissette and couldn't resist making their fantastic la brune. 
I loved this pattern as soon as I saw it on instagram. But after seeing this one by Julie and this one by Dessine Moi un Patron (who by the way has also amazing patterns, especially this blouse and combinasion which I will definitely be making in the new year) I was completely sold and am now wondering if and when I might have an occasion to make a copy cat pierre la lune version.
The instructions are in French and to buy the pdf you need to send a message via the contact box and the pdf and a paypal invoice is sent to you. The pattern comes together well and despite only limited instructions in the pdf, there is a photo step by step guide on the blog, which I used particularly for the 'wings'.  For hemming the wings, the photos show overlocked edges but I used did tiny little hems which look great.
The blouse is quite long and I took about 2 inches off the bottom, although in contrast I found the sleeves quite short. I did the bare minimum hemming on the sleeves, but next time I will add an inch onto them.

The first time I wore this blouse, I felt like the wings were 'extravagant' and was initially a bit self conscious about them. But then I just lifted my head and owned them.  Now, I adore them and want more such blouses in my wardrobe. Viva la brune!

FINISHED! Foliage culottes

It is clear that my love affair with the Oliver & S Girl Friday Culottes isn't over. I made this pair back in October (hence the skip in the background photos) and have been wearing them regularly since. Every piece of fabric I pick up seems to go through the 'will this look good as a pair of culottes test'. 
This fabric was picked up at Spotlight and there are a heap of great makes out there using it. Amanda made a beautiful dress out of it for a wedding!  For me? It's always culottes. And I love the volume of this particular culottes pattern.
There isn't much to be said about the construction of these (that I haven't already mentioned in my numerous other posts about Girl Friday Culottes), except for the fact that after these photos I changed the button placement to get them to sit a bit higher. It seems that it doesn't matter how many pairs of these culottes I make I can't seem to get the waist perfect first go. Urrgh.
I've got one more post to go for this years makes.  See you soon x

FINISHED! A hampton wedding jumpsuit

I made this jumpsuit back in July, and didn't really wear it until this Christmas season.. and now it's had quite the Christmas run.
The fabric is Liberty of London Hampton Wedding from the SS15 Alice in Wonderland collection.

Inspired by Alice stumbling into Disney’s Garden of Live Flowers, this Liberty fabric features petals, plants and leaves. Wild and alive, the flowers begin to speak: strange and inviting like the bold, colourful print.
Originally I had bought a metre from Shaukat but when it arrived and the print was larger than I expected for a Liberty I knew it had to be a jumpsuit so I quickly snapped up another metre (and a half?) from Ava and Neve in Queensland.  I have just finished another top with fabric from Ava and Eve which I really hope to blog before the end of the year.
In terms of construction there isn't really much to say.  I used the pattern I made up here but tapered the sleeves a bit. Since taking these photos I also took a few inches off the length of the sleeves which is better for the proportions of the jumpsuit. The top is quite blousey with dropped sleeves.
For fancier occassions I wear high heels with this, but I'm quite partial to this with my white sneakers!

FINISHED! Alexandria pants - the daisy and upside down bird edit

The pants I'm about to show you were made out of the cheapest fabric I have ever bought and it all started from this outfit from Blugirl Autumn Winter 2015/16 collection. The fantastic fabric is currently stocked by Allamoda Fabric. Oh but let's face it, I'm on a home renovation budget at the moment so I had to let this fabric pass me by... again. So, with my home renovation budget in mind I stumbled across this fabric in Spotlight on a little shopping trip with 
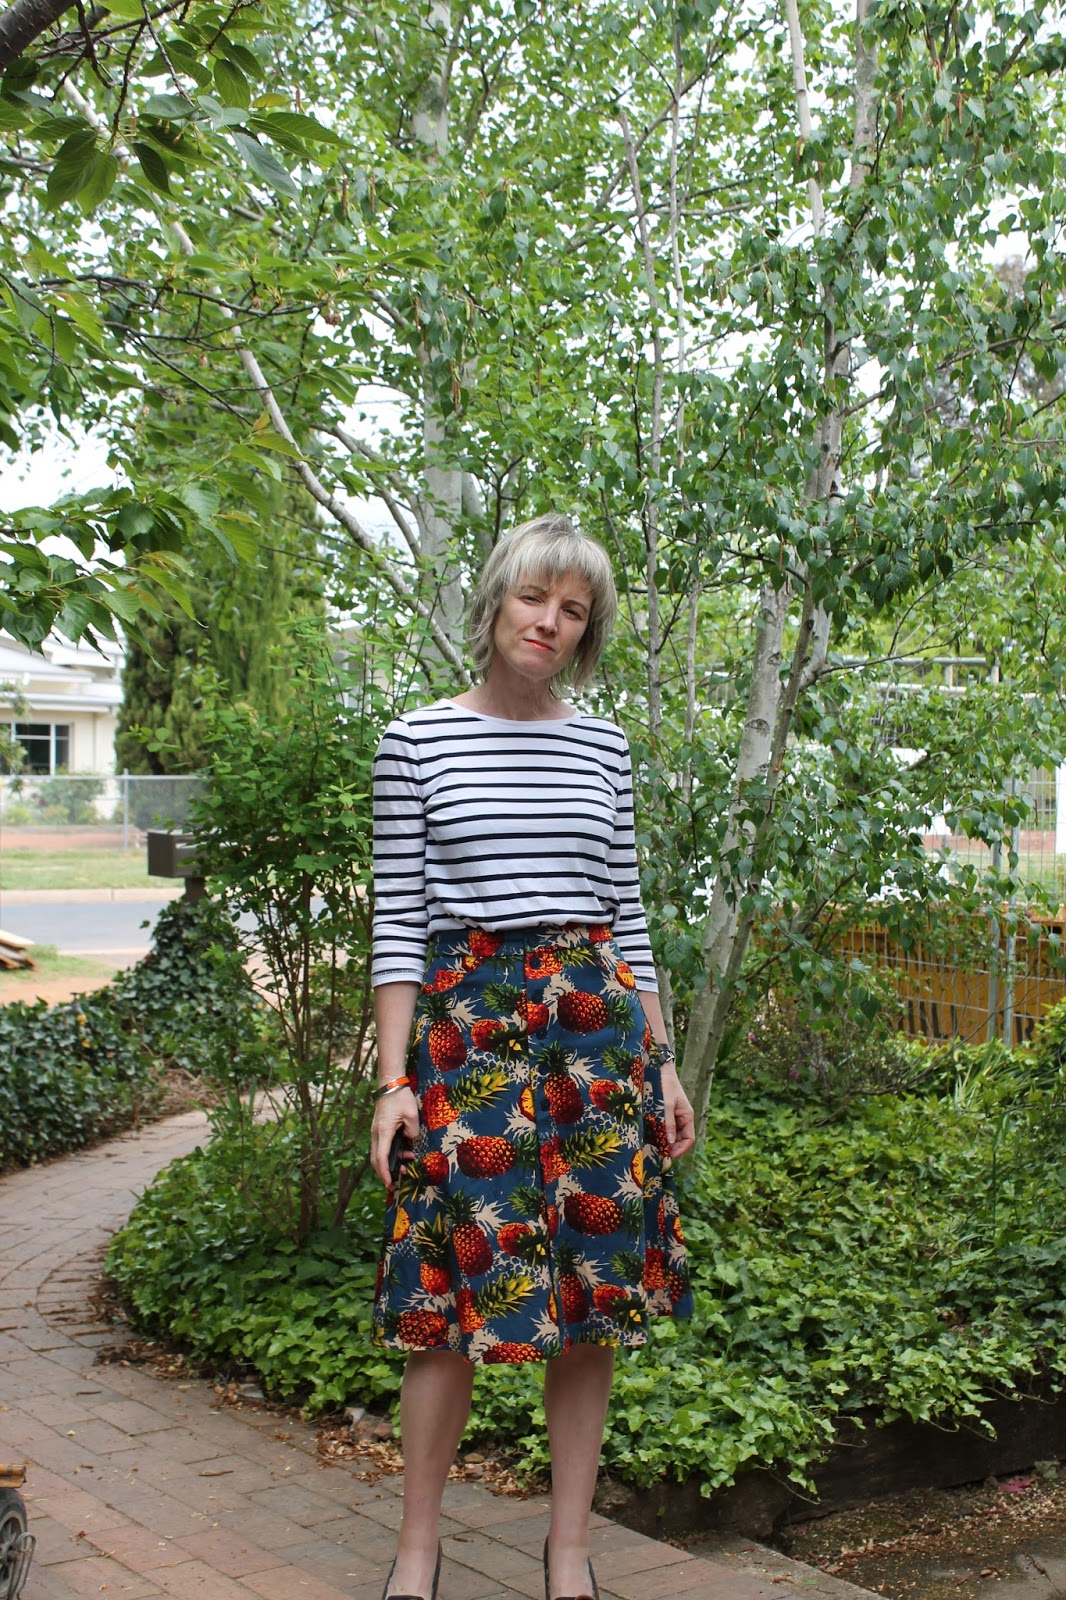
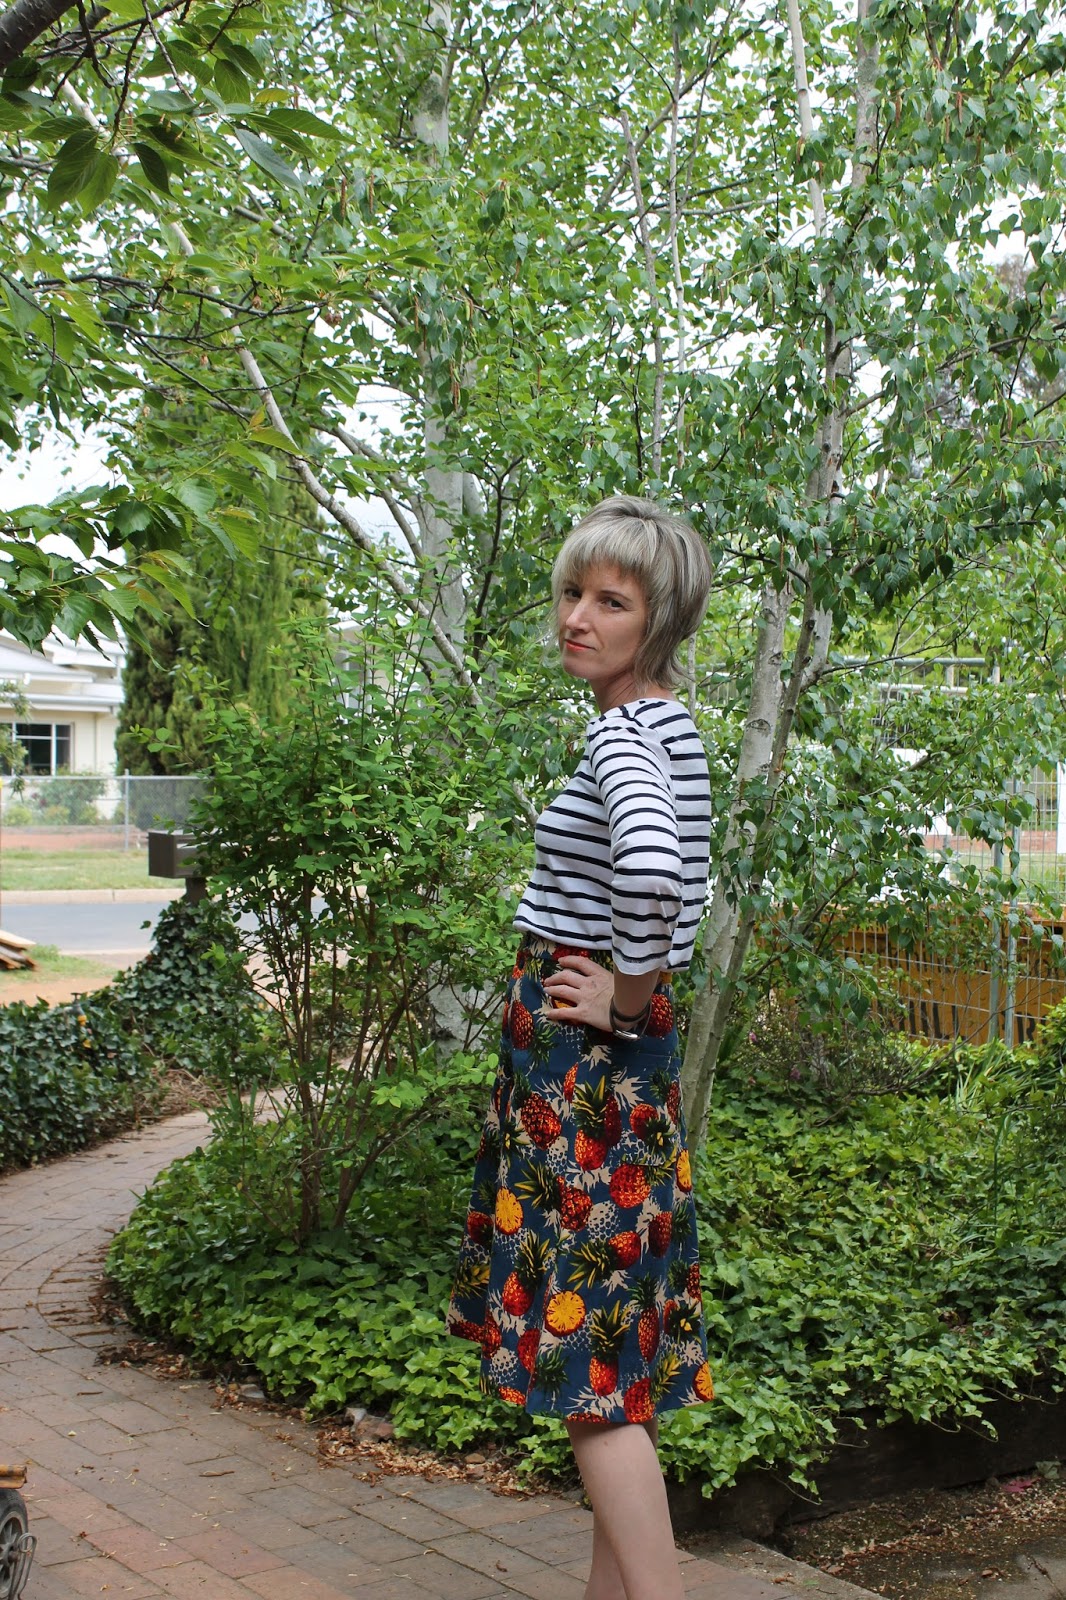
Myra.  The combination of birds and daisies reminded me of the blugirl fabric - I'm not sure why as that fabric is birds and fruit - and this is clearly not anywhere near as nice quality, but it did.
I decided at the time and bravely stated to the CBR sewing crew, that these were going to either be the best pants ever or destined for immediate donation. A big call given that even with a wash, the feel of these 'cotton' pants is 'cheap'.  
The pattern is the Alexandria peg trousers again, which in spite of or because of it's elastic waist, has become of bit of a favourite of mine.
I got the fabric home only to realise that the pattern is actually a mirror image repeat so there are birds flying upside down.  I briefly contemplated the future of this fabric but stuck with the original idea of pants. The upside birds don't bother me and in fact make me giggle quietly to myself when I wear the pants.
Despite the feel of the fabric, I like these pants. I wore them to work on the Monday after I'd made them. I loved them all day until around 3 and I looked down and had a moment of 'what am I wearing?'... but then just pretended that wearing upside down birds and daisy pants was normal. 
Will I wear them again? Oh yes probably! My 
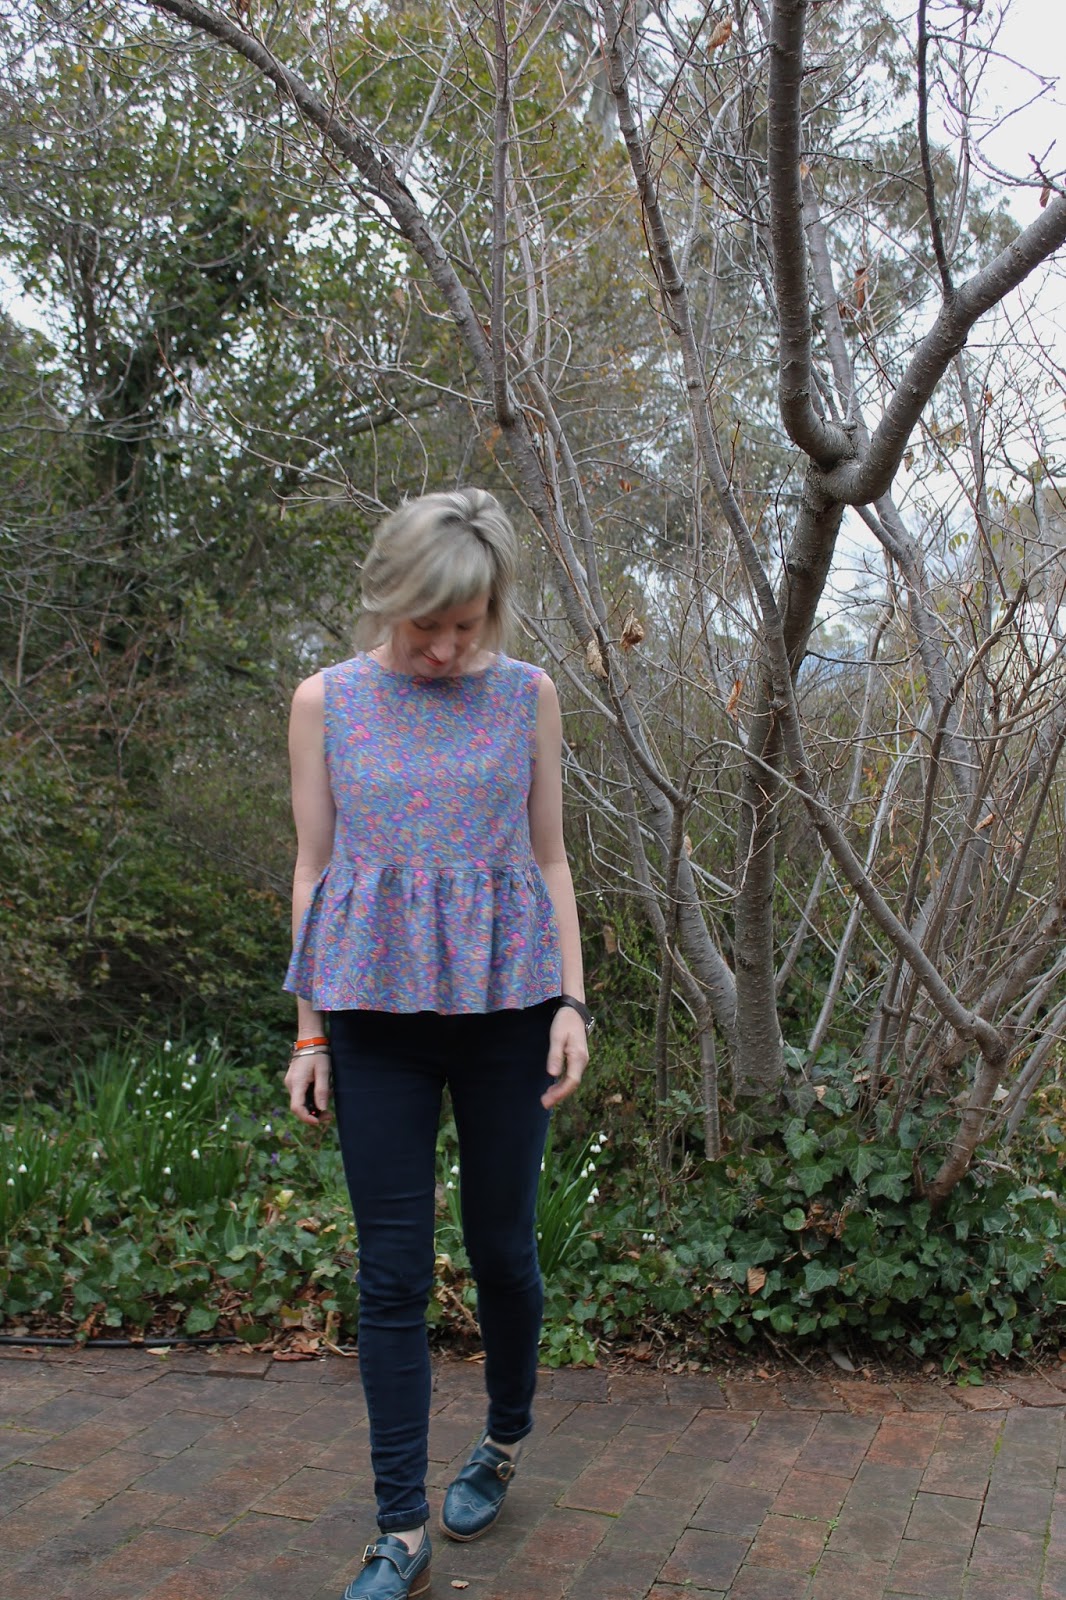
flamingo pants are on the highest rotation possible for something that I don't wear to work. These won't get close to those but there is another wear or two in them.  As for the Alexandria pants, I think I have a lot more of them in my future.. but after this fabric, I really need a palette cleanser in some Liberty fabric. I'm waiting impatiently for the new Republique du Chiffon and Jolies Bobines collaboration, la robe Lola, so in the meantime might make up another Marthe.

FINISHED! A named duo

This outfit started out because my best work trousers had a zip that kept falling down (and if I was honest with myself, their best days were gone). Having an aversion to plain black pants, I struggled to find anything that remotely addressed the gaping hole in the wardrobe. The hole still exists... Naturally I still haven't gone anywhere near plain fabric but I decided to try out two new patterns. The Named Alexandria Peg pants and the Sew Over It Ultimate trousers in an attempt to make some pants for the wardrobe. 
I still haven't made up the Sew Over It Utlimate trousers but the pattern is printed and I have some test fabric.  My flamingo pants have been in high rotation now that the weather is warmer so thought I'd start with the Named peg pants.  The allure of the elastic waist band .... and I've had great success with Named patterns in the past. 
The fabric for these pants is a cheapy 'linen' from spotlight that I picked up for the sole purpose of testing these peg pants. The linen wears a bit during the day so by the end of a work day of sitting around, the bottom gets a bit baggy, but it doesn't worry me so much. 
 I can see why these pants have a popular following. The pleats, pocket detail and easy elastic waistband make them a straightforward make with a nice cut. I omitted the drawstring. These pants are comfy and I feel almost guilty wearing them to work as they really are like secret pj's.
To 'match' the pants, I made up a Named Kanerva in another Spotlight purchase of barely stretchy stripey jersey. Oh how I love the Kanerva. It is my favourite top to make up. Without a doubt. This was my first one in a knit so I removed the back buttons. I had also forgotten that I had played around with the peplum for a dress and forgot that I had shortened the bodice so it is sitting a bit high up under my bust - I'll fix this next time.
All in all this is very comfy work attire (is it too comfy ?) and feels a little bit more me than my previous make. Perhaps it's the pattern on pattern that I like. Next up will by another pair of Alexandria peg pants based on this inspirational image that I finished yesterday at CBR sewing crew.

FINISHED! Bird of Paradise raglan dress

A number of months ago now, I was offered Stylish Party Dresses from Tuttle Publishing to review and I have finally got around to blogging about my make. Despite loving a lot of the clothes, I settled on V, the raglan dress as my first make from this book.
I initially started making it out of some fabric from Tessuti but I messed up the tracing and cutting of the facing, so that version is still sitting in my unfinished pile.  It's an easy fix but I just haven't got back to it.  I then made it out of this gorgeous linen/cotton blend from Spotlight (Sarah has made some shorts out of so watch out for them!) as a wearable muslin as I had the intention of splurging and buying this gucci silk. Of course I rang today and it's all sold out. Booo :(
So, my gucci dress isn't to be, so let's just talk about this one. Up front it's not a woohoo make.. and that's not just because it's not in the gucci fabric!  I like the fabric, I like the style, but something just doesn't click for me. Maybe it's the length, or the sleeves or something. I like how it's a bit trapeze- y which is probably due in part to the heavy fabric. But, well, I just think I've looked better. And there is a bit of white leaf on the neck which bugs me!
The dress is super easy to put together (once you get the facing traced correctly) and I love a facing - so much easier than binding. It is really long which i was surprised about so hacked a lot off the bottom (maybe too much?).  It doesn't have any pockets so I stuck a patch pocket in between the right and middle of the dress. It's an odd placement but I like it.  You can't see it in these pictures due to my fantastic pattern matching ! :)
In the dress's defense, I wore it to work yesterday and got a heap of compliments and wore it most of the day with my white sneakers on as I had walked from the car park and never bothered to change my shoes and actually really liked it that way. I will definitely wear it to work on really hot days as there is nothing more comfy than a loose shift and the massive patch pocket makes it feel like a bit of a house dress.
I'm loving all the foliage prints out at the moment and finding it hard to resist buying them all. I have a pair of foliage culottes which I'll blog soon. We'll be home be home before Christmas and I have a big backlog of makes to blog so I'd better get on with it!

FINISHED! Rosari pineapple skirt

My sewing and blogging has slowed down a bit since our house renovations but I managed to find some time and space to test for Pauline Alice again. This time the Rosari, the long awaited skirt to her library of patterns. 
The skirt has a cool 70's vibe and has lots of different variations: 2 lengths (mini or midi) and 4 different types of pockets to choose from.  I chose the midi, although I think for a midi it could be a bit longer so keep this in mind. I've said it before, but I'm only about 5 foot 2 inches. I'm wearing heels in these photos. 
I went with pocket A for the front and pocket B for the back. The skirt has all 12 buttons but I just haven't done them all up!  I really like this skirt pattern and plan to make a slightly longer one in denim. I'm so attracted to white denim this summer - but haven't yet succumbed because I'm not sure whether it would stay clean for even a minute.
There isn't really much to say about this skirt construction. It comes together easily, with nothing too tricky, well with my pocket choices anyway.  Annie Coton has done a super tartan mini version.
The fabric? Well I love this fabric which I got from Addicted to Fabric. Have you seen Barbara's jeans in the same fabric? Unbelievable! Anyway, despite loving the skirt and fabric,  I decided to gift it off to a young friend who sometimes babysits for us. I hope she gets a load of wear out of it because it deserves to be loved.
I'll be back soon with another make x

The winner of Stylish Party Dresses is....

I'm a bit late drawing the winner of this competition as I had hoped to have a fresh make to show you but alas not yet. So without further ado congratulations to House of Lane! I'll be popping the book in the mail to you sooon!


GIVEAWAY! Stylish Party Dresses by Yoshiko Tsukiori

The good folk at Tuttle Publishing provided me with the newly released Stylish Party Dresses by Yoshiko Tsukiori to review (with a spare copy to give away!). Of all the books I've received (apart from She has a Mannish Style - which I already had in the original Japanese), this is the one that has most excited me. Yoshiko Tsukiori will be well known to anyone who has sewn from a Japanese pattern book. She created the extremely popular Stylish Dress Books and the Happy Homemade series.  The styles suit so many people.
This books carries on the same simple style with a twist of quirk that those books do and with the quintessential Tsukiori styling and the addition of some unbelievable wallpaper I find the patterns hard to resist. There are easily a number of dresses (and a jumpsuit) that I will make up from this book.
The book is primarily dresses and comes with full size pattern pieces - which need to be traced and seam allowances added. Which is pretty standard for Japanese books. This is the English translation and the instructions seem to be ok with a diagram to assist. There are also quite a few how to's.  I am currently making up Mini Dress with Raglan Sleeve and haven't had any problems so far (but I've had to take a mini break as our extension work took over). I hope to finish this weekend if I find a place to sew. After I do that I'll be able to report back, but I am confident that they are of the same  standard as the other Yoskiko Tsukiori books.
So here are a few more pictures to whet your appetite for the book. Clearly that liberty jumpsuit has my name ALL over it.
And I am completely fascinated with this one below!
I'll see you soon hopefully with a new dress, but if you are interested in winning this book - and let's face it - who wouldn't! Leave a comment below. I'll randomly pick a winner next Friday 18 September. Good Luck!

FINISHED! Abbey Pool Hero Vest

Sometimes things just fall together and this is one such make. Spoiler alert: I love this make and it is currently my hot tip for my make of the year. But.. there are 4 months to go so I best hold my betting til closer to the end when all the finalists are in. It has been a long time since I have been so excited by a make - I was desperate to sew a bit everyday until this was finished.
Let's start at the beginning. One of my favourite makes of this year was Jo's vest which has been sitting in my subconscious since she posted it. I adore it.  Oh that fur collar and pre quilted fabric. It is super cool.  The second thing was that I saw a dress recently made by Christine out of Liberty of London Abbey Pool and I was reminded that I had failed to buy this fabric, and that it was currently available online from Tessuti. So I quickly remedied my missing Liberty. Lastly, Toni from Make it Perfect released the Hero Vest for Women. She quickly thereafter released additional instructions to the pattern to provide for a hidden zipper. Boom. I knew right then that I was going to quilt the Abbey Pool for a vest. I had bought the fabric for a dress, but as soon as it arrived it's new destiny was confirmed.
A quick note about the fabric. It is Liberty of London Abbey Pool and is from the Spring Summer 2013 The Flower Show collection.
The Botanical Garden capsule collection was been digitally printed and features designs by eminent artists Mary Fedden, Hugo Grenville and Rachel Pedder Smith which sit alongside artworks by the Liberty Art Fabrics studio and freelance designers.  Abbey Pool is by Mary Fedden OBE, a Royal Academician and has had many exhibitions and commissions. Mary was the first woman to teach painting at the Royal College of Art, where one of her students was David Hockney. Mary Fedden’s art concentrates on the pre-occupation of the still life with a view beyond.
  
Back to the vest. The sewing of this wasn't too hard except for maybe the zip, but we'll get to that. I self quilted the fabric which was rather therapeutic (though I won't be doing this again in a hurry!). I roughly cut out each pattern piece - with about an extra inch added and then quilted simple lines 1 inch apart. Once I had everything quilted I cut out the patterns according to the pieces. This is a XS and I did panic at one point that I should have made a bigger size but I'm ok with the fit.  I took about 2cms off the length of it. The whole thing including the hood is lined in a navy cotton.
I added an inside pocket piece to make it neater inside as I didn't want the batting to be visible from the inside. All the versions of this pattern that I've seen have contrast ribbing for the pockets, arms and hood. I used simple self made binding rather than ribbing as I was after a simpler look and I'm really happy with how they turned out. For the hood and arms I hand stitched the binding down because I'm not super confident machine stitching the binding down and I wanted those parts - that are visible - to be as neat as possible.

Ok the zip.  I was so happy when Toni released some additional instructions to make this zipper hidden. The pattern comes with instructions for just having the zip seams exposed on the inside and so I was planning on working out myself how to hide the zip, so happy I didn't have to do that.  I worked really hard to try and match up every quilted line on the zip. I used chalk to mark the lines on the zipper which worked pretty well. If you look really close - please don't - there are a few little places that aren't perfect, but I unpicked so many times to try and get it lined up that I ended up with this as my best and final. I'm pretty happy and proud of my effort with it and I won't wear it zipped up much so I'm not going to worry about it anymore.  I didn't top stitch the zipper down as I was worried that this might get a bit messy.

Not much more to say about this except WOOHOO! It is the perfect vest moving into spring and of course goes perfectly paired with my neutral (stripes) and I can't help but feel a bit proud of myself with this one. 

FINISHED! Viyella Peplum

A quick post today to showcase a little top I made out of some gorgeous gifted fabric.
Earlier this year, Jen generously gifted me this lovely piece of Viyella fabric. It has a lovely almost flannel hand, with a strong diagonal weave.  The photo above is the real colour of the fabric, sadly the other photos have the fabric looking a bit washed out. 
It was a tiny piece of fabric only about 1m by 90cm. Just enough to make a little sleeveless top. I would have just had enough for small sleeves but I stupidly tapered them in which meant that if I'd attached them I wouldn't have got my arms in.. so sleeveless it was.  
The style of top will come as no surprise. A little peplum. It is a hack of the kanerva with a gathered peplum. I can't help myself. I love a little gathered peplum and they just feel me.  This one is a bit shorter than my usual ones but I like it and have plans to pair it with my denim pants for the spring. 
I'm not much of a sleeveless girl, so this top is perfectly paired with a cardigan and I have surprised myself by how often I reach for this outfit.
Thanks again Jen for so generously gifting me this beautiful fabric x